Creating and configuring a virtual machine in Oracle VM VirtualBox
With this tool, you can install and use various operating systems without “clean” installation on your computer. The main platform of your PC remains the same, the rest you can enable or disable as needed.
How to download VirtualBox for Windows, macOS and Linux
Download and install Oracle VM VirtualBox virtualization software. The tool is available for Windows, Linux, macOS and Solaris operating systems. It supports x86 and AMD64 / Intel64 processors. With VirtualBox, you can create virtual machines under your current OS running Windows (NT 4.0, 2000, XP, Server 2003, Vista, Windows 7, Windows 8, Windows 10), DOS / Windows 3.x, Linux (2.4, 2.6, 3.x and 4.x), Solaris and OpenSolaris, OS / 2 and OpenBSD.
Create a virtual machine in VirtualBox
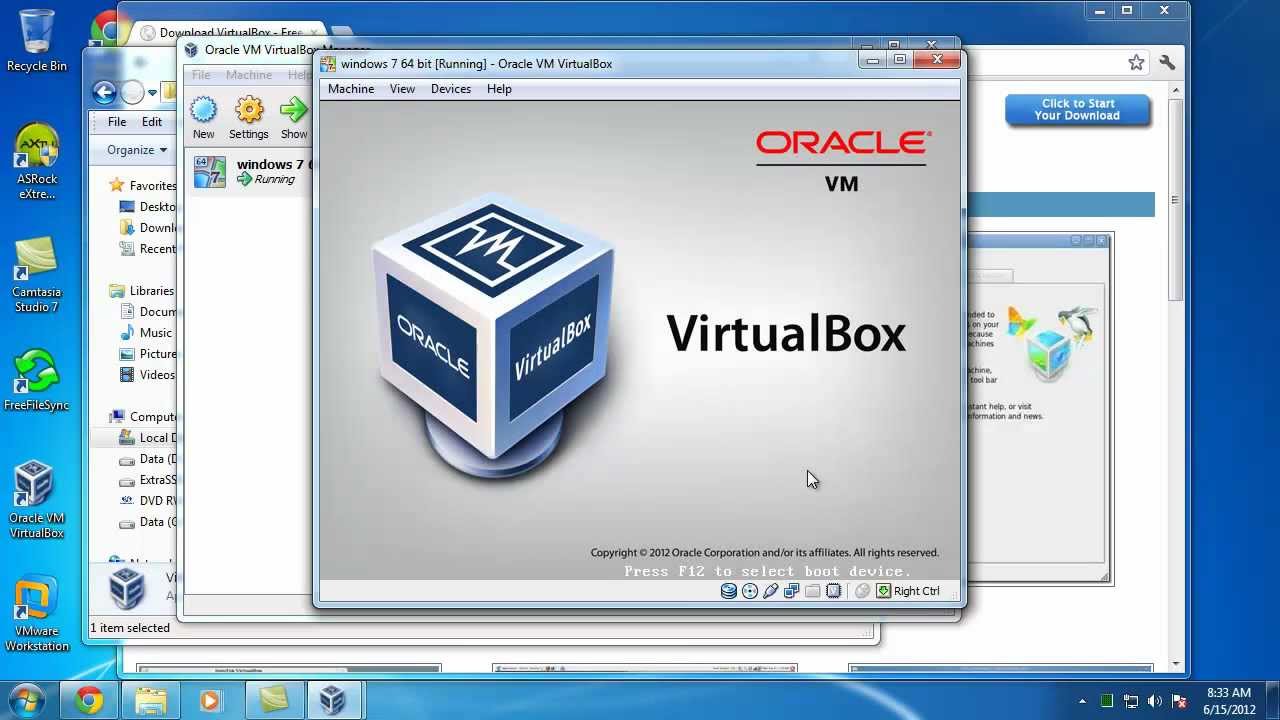
Start VirtualBox.
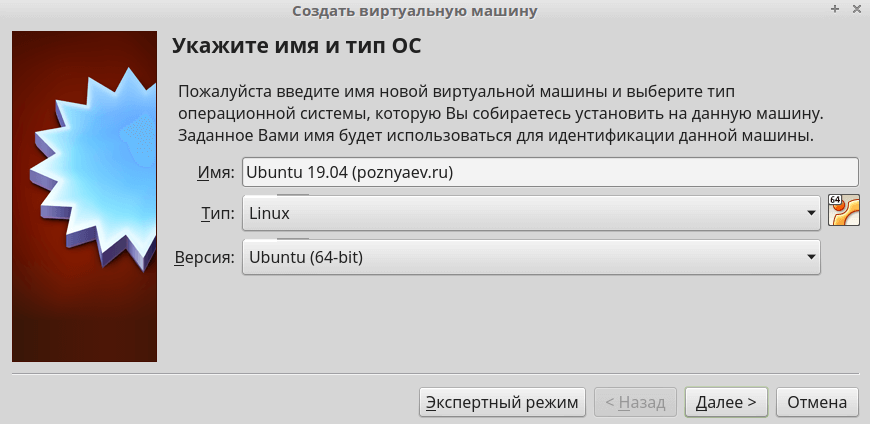
To create a virtual machine, click the “Create” button located on the program toolbar under the menu bar. I will walk you through creating and configuring a virtual machine using the example of preparing to install a 64-bit version of Ubuntu 19.04. In most cases, this process differs only in minor details on other platforms. I have previously shown how to install Linux Mint in VirtualBox.
Enter an arbitrary name of the machine; operating system type (Linux) and version (Ubuntu 64-bit). Here and in the future, in the course of the wizard, to go to the next window, click the “Next” button.
Specify the amount of RAM to be allocated to the virtual machine in megabytes. The offered software is only 1024 MB.
For comfortable work, I would recommend allocating at least 2048 MB (2 GB) of RAM to the virtual machine, and if resources permit, then 4096 MB (4 GB).
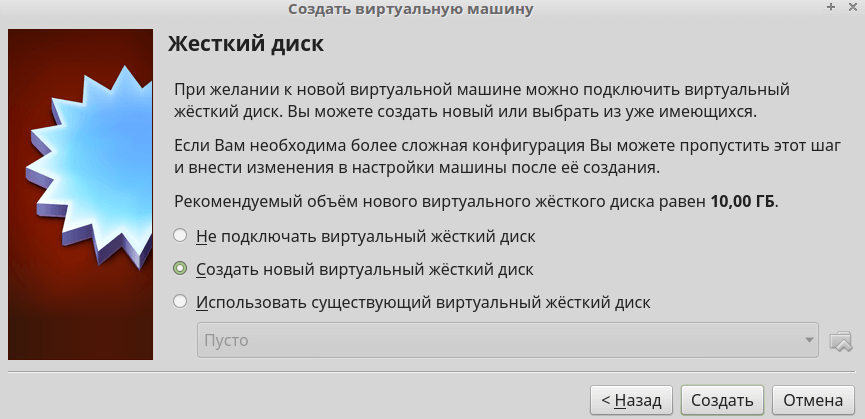
Create a virtual hard disk in VirtualBox
The virtual machine must also be allocated hard disk space. From the options offered by this window, select “Create a new virtual hard disk”. Click the Create button.
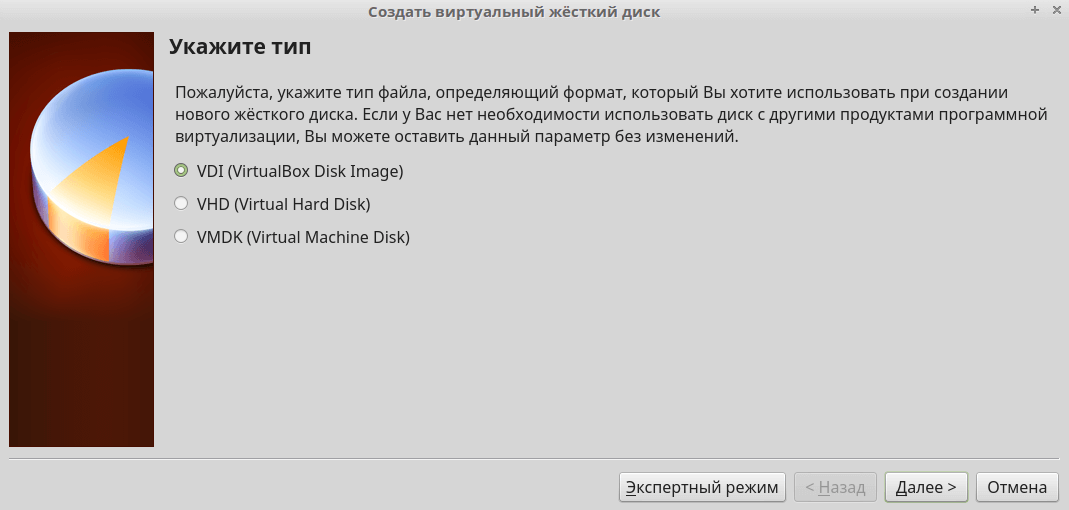
If you do not plan to use the created virtual disk with other software virtualization tools, leave the default hard disk type “VDI (VirtualBox Disk Image)”.
Select Fixed Virtual Hard Disk as it is faster in most cases.
By default, you are prompted to create a 10 GB VHD.
I do not recommend specifying a volume less than 15 GB, since modern operating systems and software for them take up a lot of space. Click Create.
If the virtual machine has been created, the screen will display its basic parameters.

Configuring a virtual machine in VirtualBox
Right-click on the virtual machine icon and select Configure. Some settings require the Oracle VM VirtualBox Extension Pack to be installed.
In the “General” section, on the “Disk Encryption” tab, you can configure disk encryption and protect it with a password. To do this, you must enter a new password and confirm it in the second field. The created password must be remembered in order to save access. Here and in the future, confirmation of changes to the settings of the virtual machine is made by pressing the on-screen button “OK”.
In the “System” section of the “Motherboard” tab, you can change the amount of RAM and define the boot order.
Booting from floppy disk (i.e. legacy floppy disk) can be disabled if you do not intend to use it.
On the Processor tab, you can define the number of CPU cores on your computer that can be used by a virtual machine, as well as the maximum allowed processor load. I recommend allocating at least two cores. The decision of whether to allow a virtual machine to use 100% of the processor is based on its performance. On weak and old machines, it is best to leave the default setting.
On the Acceleration tab, leave the default settings. You need to change them only if you are fully confident that they are needed for the correct operation of the system you are installing.7
In the “Display” section on the “Display” tab, you have to specify the amount of video memory allocated to the virtual machine. For a better screen image, I recommend allocating at least 64 MB. The number of monitors used and scaling are also configured here. It is possible to enable 3D acceleration and 2D video acceleration.
The “Remote Access” tab is used to configure the remote access server. It is possible to enable multiplayer mode.
To record a video of a virtual machine, you must enable the corresponding option on the “Video Capture” tab.
In the “Media” section, leave all settings unchanged. They are best automatically detected by VirtualBox.
In the “Audio” section, you can select the driver and sound controller to use. Typically, you just need to make sure that the software tool has correctly identified these components. If you want or need to, you can disable sound support for the virtual machine.
The “Network” section is intended for setting the parameters of the network adapters used in your system.
You can enable support for virtual serial COM ports on your computer in the “COM ports” section.
You can select the USB controller standard in the corresponding section. To do this, you need to know what USB ports are provided in your computer (USB 1.1; 2.0; 3.0).
The “Shared folders” tab is important for you, because here you can define those directories that will be used by the virtual machine together with the main system of your computer. To add a new shared folder, there is a button with a stylized folder icon and a “+” sign. Click on it.
In the “Path” field, you will be prompted to specify the location on your hard drive where the directory is located.
The shared folders you selected will appear in the list.
The User Interface section allows you to define which items appear on the menu.
Are you using VirtualBox or do you prefer other virtualization tools?
If you find an error, please select a piece of text and press Ctrl + Enter .