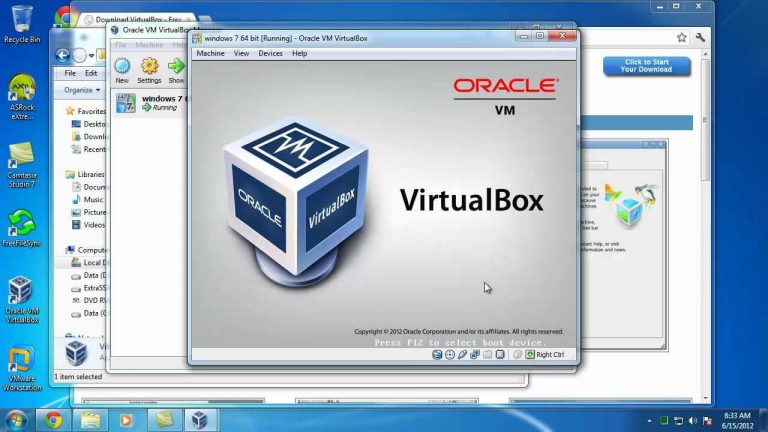
Installing Ubuntu in VirtualBox. Detailed step by step instructions
Ubuntu is one of the most popular operating systems in the Linux family. It is based on Debian, which means it is compatible with widely used DEB application packages.
Earlier, I went through the process of configuring a virtual machine in VirtualBox in detail using the example of those settings that are necessary for the system in question.
Starting the Ubuntu installation process
Double-click on the previously created virtual machine to open it. You will be prompted to specify the path to the boot disk, that is, to the ISO image of the operating system. Use a stylized folder icon for this.
Now you have to wait for a while.
Select the system language. This window has two buttons: “Start Ubuntu” (to try the OS without installing it) and “Install Ubuntu” (to install).
Click first.
OS testing without installation
It will take some time for the system to boot. The screen will turn black during the OS startup process. This does not mean a failure. You just have to wait.
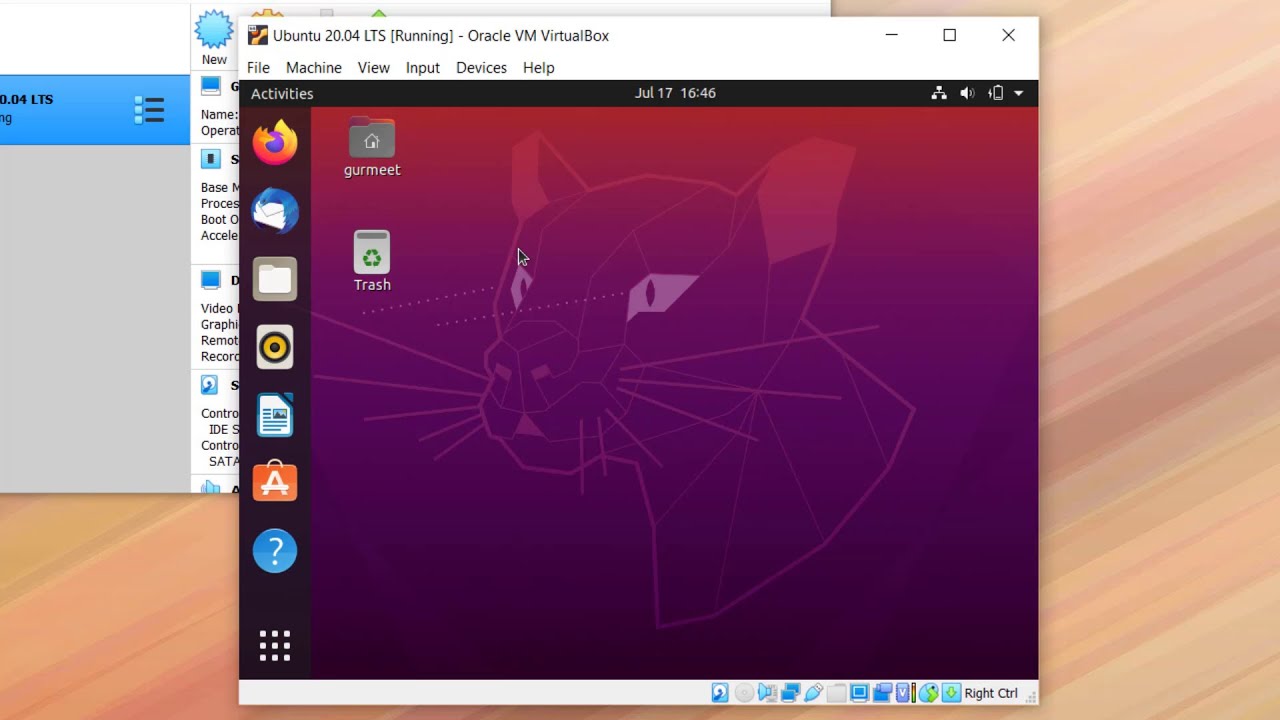
The Ubuntu desktop will open. On the left is a panel for accessing the main system tools.
Without installing Ubuntu, you can open websites using the Firefox browser …
try the Thunderbird email client …
see what the file manager looks like …
use the pre-installed Rhythmbox music player …,
create a text file in LibreOffice Writer …
go to the application manager and familiarize yourself with the range of software offered by developers for the system you are installing …
study the user guide for the desktop version of Ubuntu …
use any of the pre-installed applications.
From the Apps page, open the Settings app where you can access system configuration.
If you want to return to continuing the installation at a later time, select File – Close from the virtual machine menu. In the menu that appears, set the option “Save machine state” and click “OK”.
The current state of the virtual machine will be saved and in the future, after starting it, you can continue the Ubuntu installation from the screen where you interrupted it.
Preparing to install the system
You can start the OS installation process by double-clicking on the “Install Ubuntu 19.04” icon located on the desktop. The mode of operation described above is for informational purposes only and works rather slowly.
The installation process starts from the language selection screen in which you stopped before starting the system. To install the OS, click “Continue”. In the future, to go to the next screen, press it. If, after familiarizing yourself with the OS interface, you prefer not to install it, click “Cancel”.
Define your keyboard layout.
By default, you are offered a regular installation, which includes a web browser, utilities, office applications, games, and media players. I recommend staying with this option so that you don’t need to install additional software later.
By default, you are also prompted to download updates during the OS installation process. If you leave the checkbox for this option, it will allow you not to waste time after installing the system.

A minimal installation (web browser and basic utilities) is also available.
You have the option to “Install third-party software for Wi-Fi graphics and hardware and additional media formats.” Some of this software is proprietary. I recommend enabling this option so that network connections work correctly, and video files are played from the first minutes of working with the system.
Select the type of system installation.
“Erase Disk and Install Ubuntu” It is offered by default. All software and files will be lost. When installing in VirtualBox, you can choose this option, but when installing the system directly to your computer, give it preference only if you are completely sure that you have saved important information on additional drives.
For a clean install of the OS, you can enable the options:
- “Encrypt a fresh Ubuntu installation for security purposes”;
- “Use LVM on a fresh Ubuntu install.”
You can select the security key later. Configuring the Logical Volume Manager (LVM) will allow you to take system snapshots and make it easy to modify partitions.
Another option. This assumes that you yourself will create the necessary partitions on the hard disk or SSD and determine where Ubuntu will be installed. Whichever installation option you choose, click Install Now.
The installation wizard will warn you that the changes will be written to the disks, and also tell you which partitions will be formatted. Please read this information carefully and, if in doubt, interrupt the OS installation. When installed in VirtualBox, this does not really matter, but with a clean installation it can lead to the loss of all information on the computer. Click Continue.
Select a city.
Enter your name, your computer name, username and password, which must be repeated in the additional field. Username must start with a lowercase letter. If you are installing Ubuntu on a PC that no outsider has access to, select “Log in automatically”. In all other cases – “Require password to log in”.
Install Ubuntu
The process of copying files starts. You don’t need to do anything on this screen, just wait. In the course of its work, the installation wizard will show you slides describing the capabilities of the OS.
The next step is to install the system.
During installation, the system will download the files it needs from the Internet. You will see messages “Receiving file …” or similar messages. If the download process takes too long or you have no network connection, you can click the “Skip” button.
The installation will automatically configure the hardware.
A message will appear on the screen indicating that the installation is complete. You can click the “Continue acquaintance” button and test the system without restarting your PC. Changes and files created before the reboot will not be saved. Therefore, I recommend clicking the “Restart” button.
It will take some time to prepare for the reboot.
A window with the name and version of the OS will be displayed.
First settings
After a short wait, you will be prompted to connect your network accounts. These include Google and Microsoft accounts. I note that there is a similarity with mobile operating systems. You can set up logins right away or click the Skip button.
You will be asked to help improve Ubuntu. If you select “Yes, send information to Canonical”, some computer, software and location information will be sent to the developing OS company. If you do not wish to share this data, select “No, do not send information about the system.” Click Next.
In the Privacy window, click the toggle button to turn geolocation services on or off.
Installing applications and updates
A message will appear stating that the system is ready for operation. In this window, you are asked to click on the “Open Application Manager Now” button in order to install additional programs.
In the application manager, the software is grouped into categories: “Audio and video”, “Communication and news”, “Work”, “Games”, “Graphics and photography”, “Add-ons”.
The Installed tab shows a list of already installed software.
The Updates tab shows if there are updates available for download. Click Finish to close the window.
Since the release of the system, some programs have been updated. By clicking Install Now, you will download and install the latest versions of them. You can return to installing updates later by clicking Remind Me Later.
The system is completely ready to work and you can read right now how to install another popular OS in VirtualBox – Linux Mint.